for expert insights on the most pressing topics financial professionals are facing today.
Learn MoreWhen working with a new client, entering a variety of data in the Facts section can take time. So if you’re looking to present an introductory analysis of your client’s finances on the spot, eMoney’s Needs Analysis tool can help you put together your first client presentation before you’ve entered their full data profile.
And with restyling enhancements coming next month to your Needs Analysis tool, you’ll be able to evaluate your clients’ needs in a newly refreshed platform.
Needs Analysis is a modular planning tool, ideal for conducting a simple evaluation of a client’s individual need, like life insurance or long-term care, or a custom need, allowing you to create simple, targeted evaluations of your clients’ needs, including retirement, insurance, and education modules.
With the Needs Analysis tool, you can easily show your clients and prospects how you can help them protect their families, plan for their goals, and prepare for retirement.
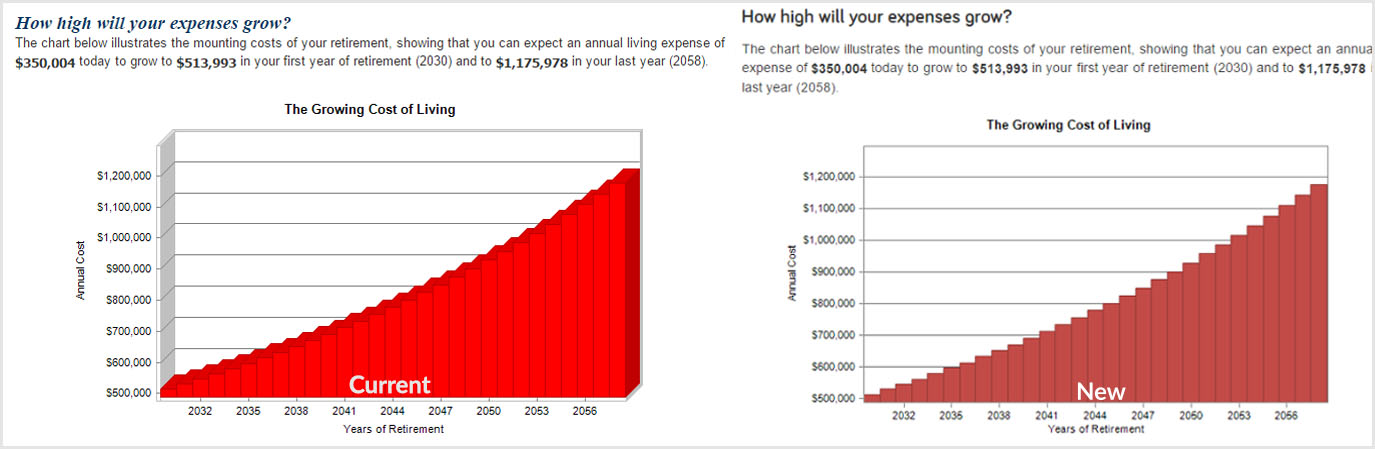
Over the next few weeks, you’ll notice a few small changes to the look and feel of your Needs Analysis tool. You can expect to see a modern, fresh feel to your Needs Analysis platform, while enjoying all of the current functionality and system calculations that exist today.
It will begin with updates to the fonts, headers, and report text then next week you can expect to see updates to the chart visuals. See below for a sneak peek of what to expect.
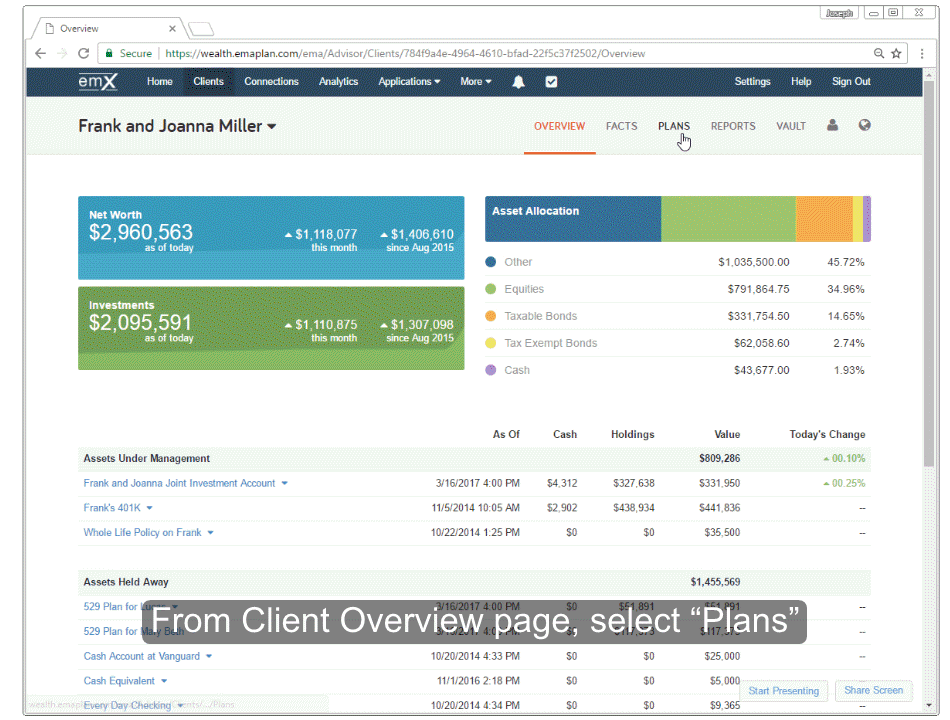
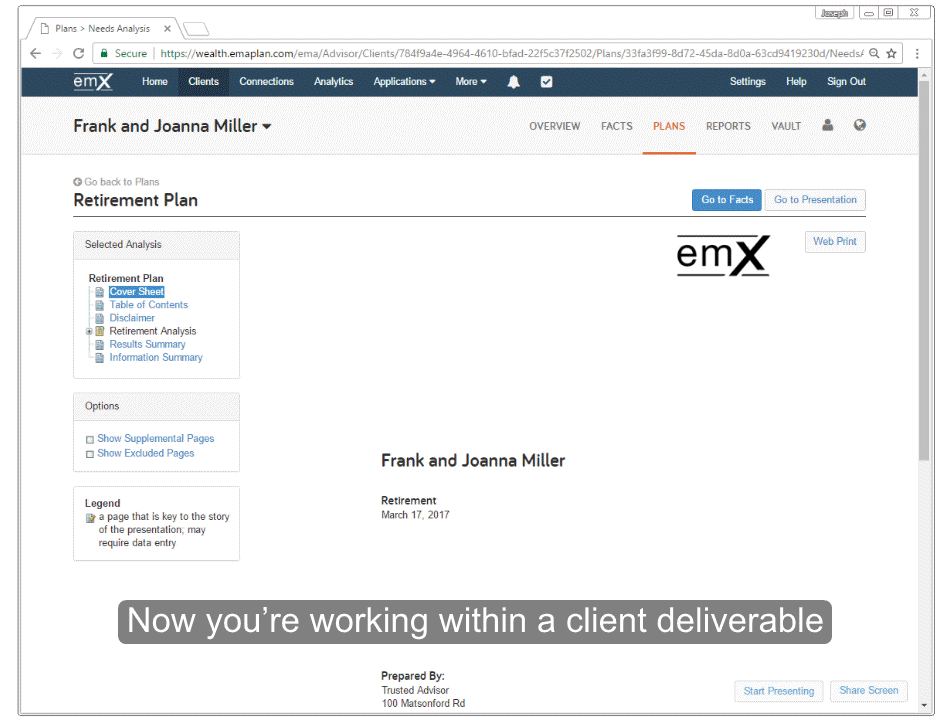
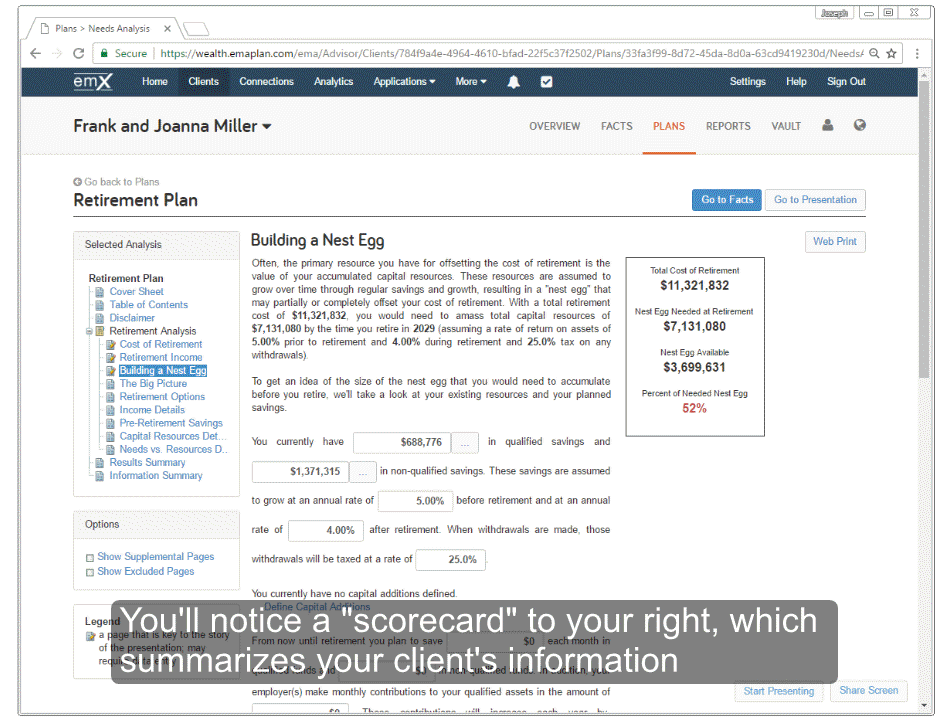
If you’re a little rusty on how to use Needs Analysis with a new or existing client, follow the steps below to get started: