for expert insights on the most pressing topics financial professionals are facing today.
Learn More
Presentations are a great way to organize and share your client’s data. In eMoney, you can create a presentation that captures a summary of your client’s facts, shows their lifetime cash flow projections, or presents how your recommendations will positively impact their financial plan.
Let’s look at the essentials of creating a presentation, applying advanced planning scenarios, and sharing it with clients.
On the client’s overview page, you’ll add a presentation under Reports > Presentations. Here, you’ll click on New Presentation to add a blank presentation, an existing template, or a standard eMoney template. To open a presentation, click on the presentation’s name.
Next, it’s time to add your presentation content. Go to the Add New Page section to add blank pages, a single report, a group of sub-reports, or a presentation chapter.
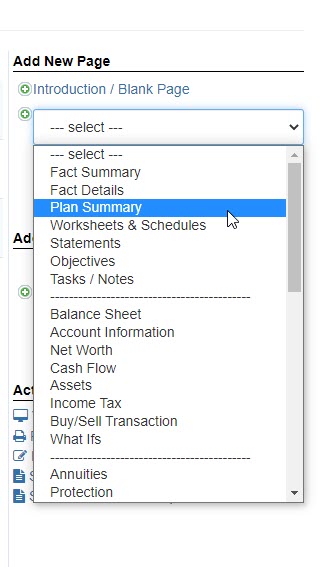
To add a blank page, you’ll click on ‘Introduction/Blank Page’. A blank page allows you to add your own text. For example, you can include an agenda or next steps.
To add reports, you’ll click on the drop-down list under the blank page option. You’ll choose the report you’d like to add from the list and click ‘Add Page’. If you choose a report with sub-reports, a second drop-down list will appear. You can select one sub-report or scroll to the end of the list to select ‘All pages in this list and click ‘Add Page’.
Adding a new chapter adds multiple reports at once. For example, if you choose the Retirement chapter, seven of the retirement reports will be added to the presentation.
For more information, check out the training video—Presentation Basics or our Presentations Interactive User Guide.
Now that you’ve added your reports, you can apply your advanced planning scenarios or what-ifs to the reports to demonstrate your recommendations’ impact.
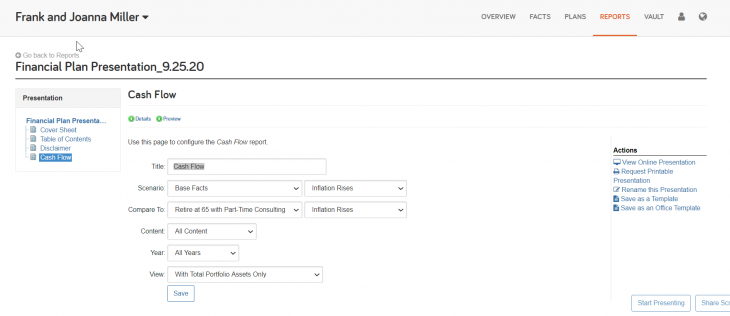
Click on the report name within your presentation and use the detailed view to select the scenario you’d like to show. You can also compare base facts to a scenario or compare two scenarios.
Finally, you can apply what-ifs on top of scenarios to model various outcomes. Once you’ve made your selections, click Save.
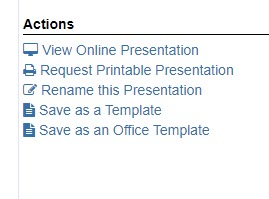
Once you’ve created a presentation that meets your needs, save time by utilizing presentation templates. For example, if you created a Mid Year Review, Retirement Planning, or Fact Summary presentation for one of your clients and you’d like to use it for all your clients, you can. Just save each presentation as a template under Actions.
Finally, after you’ve created your client’s presentation, it’s time it to send to the Vault. Once in the Vault, the reports within the presentation will lock in values from the date sent. If you make changes to a presentation or you want to share updated values with your client, you’ll need to send an updated version into the Vault.
To send a presentation into the Reports folder of the Vault:
You can print out the document from the Vault, save the file on your computer, or share it directly with a client’s Vault. For more information, check out Sharing a Presentation to the Client Vault.
Looking to learn more? Check out the Help section on your advisor homepage for interactive FAQs, user guides, videos, and more.